
Grade 7 · CAPS TechnologyLaser-cut in Gauteng
Electromagnetic Crane School Project Kit – Grade 7
R 199.00
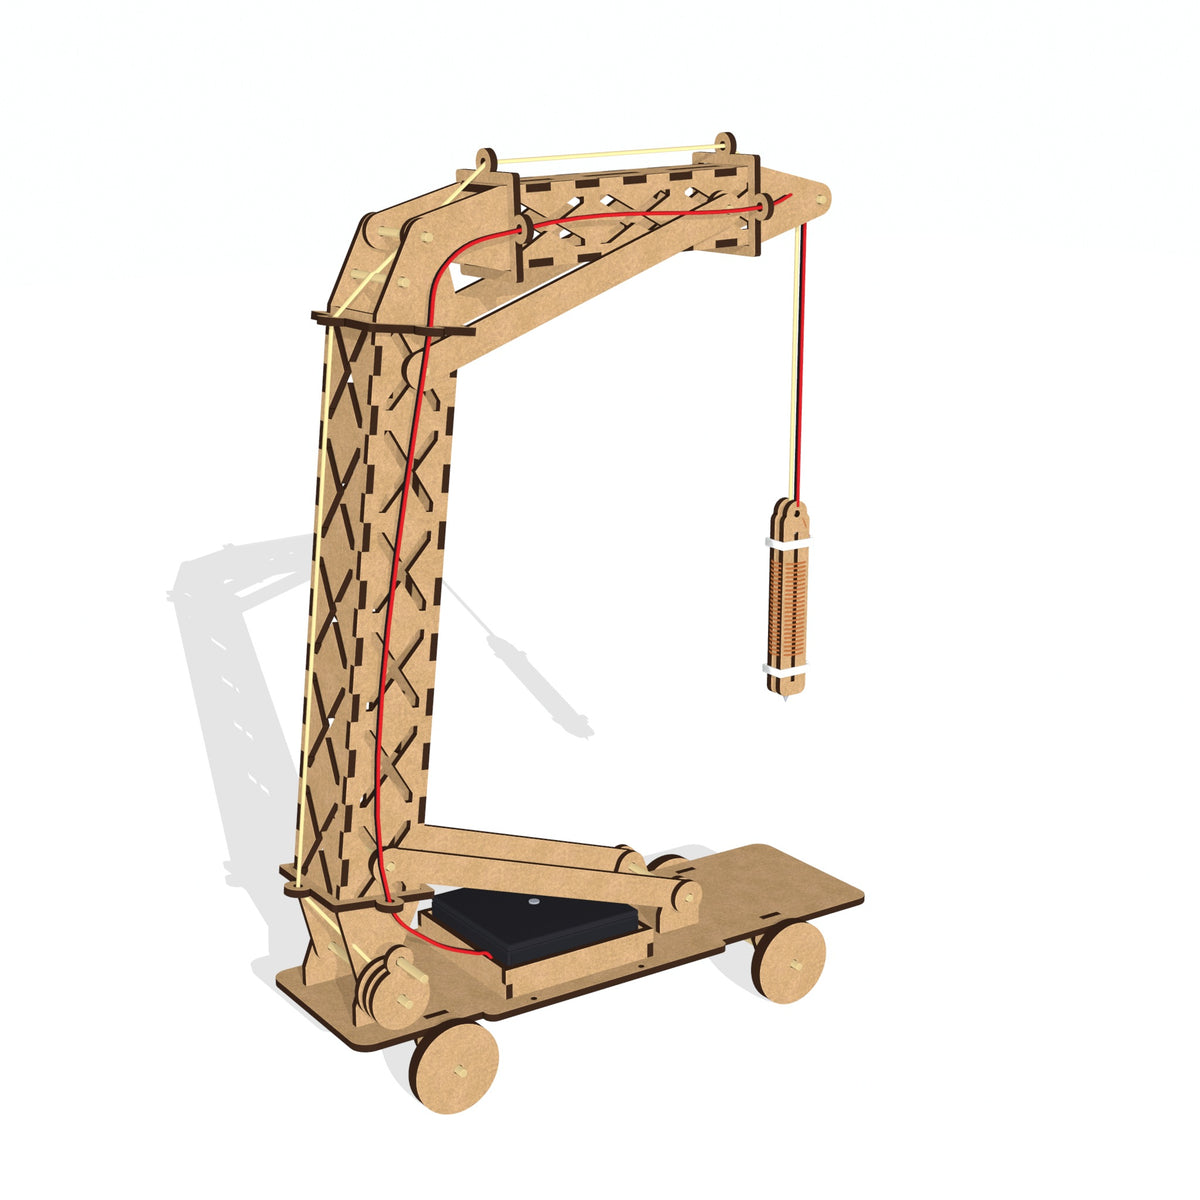
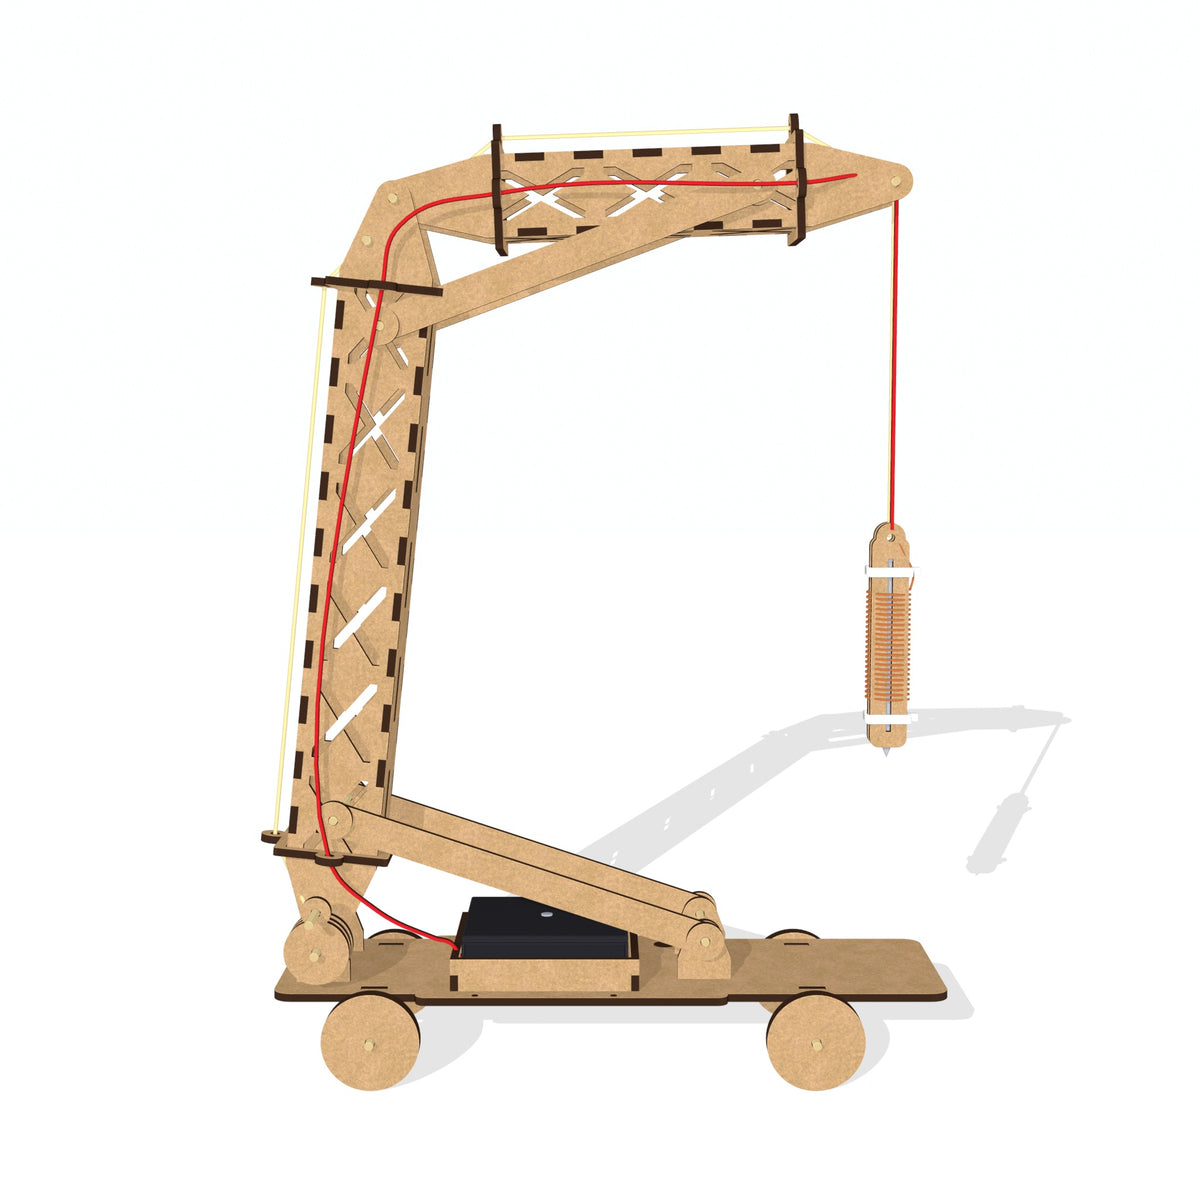
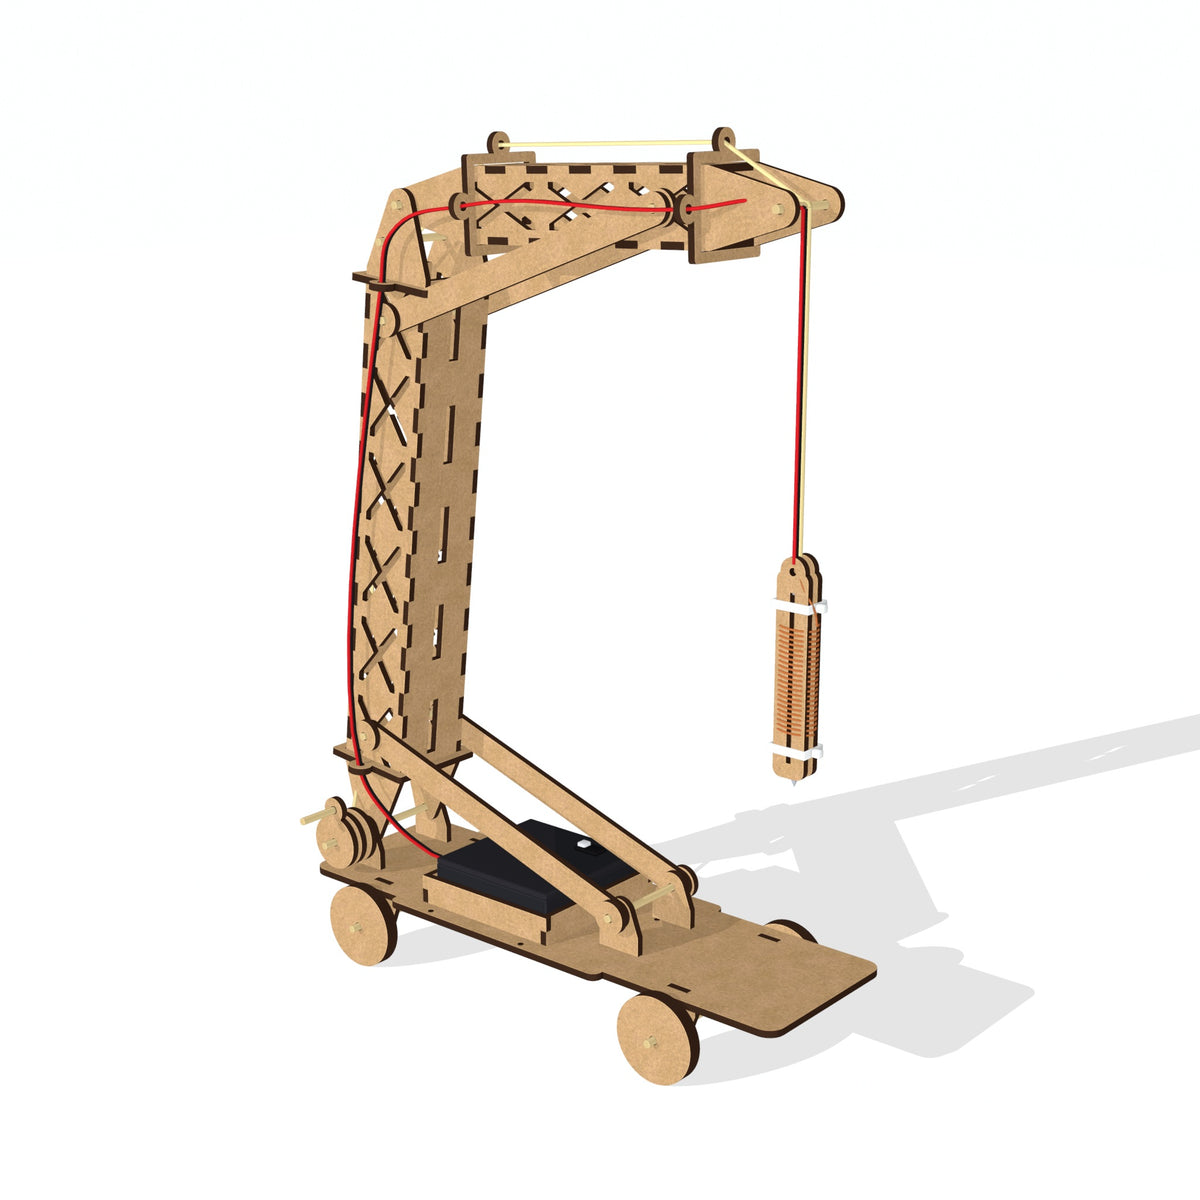
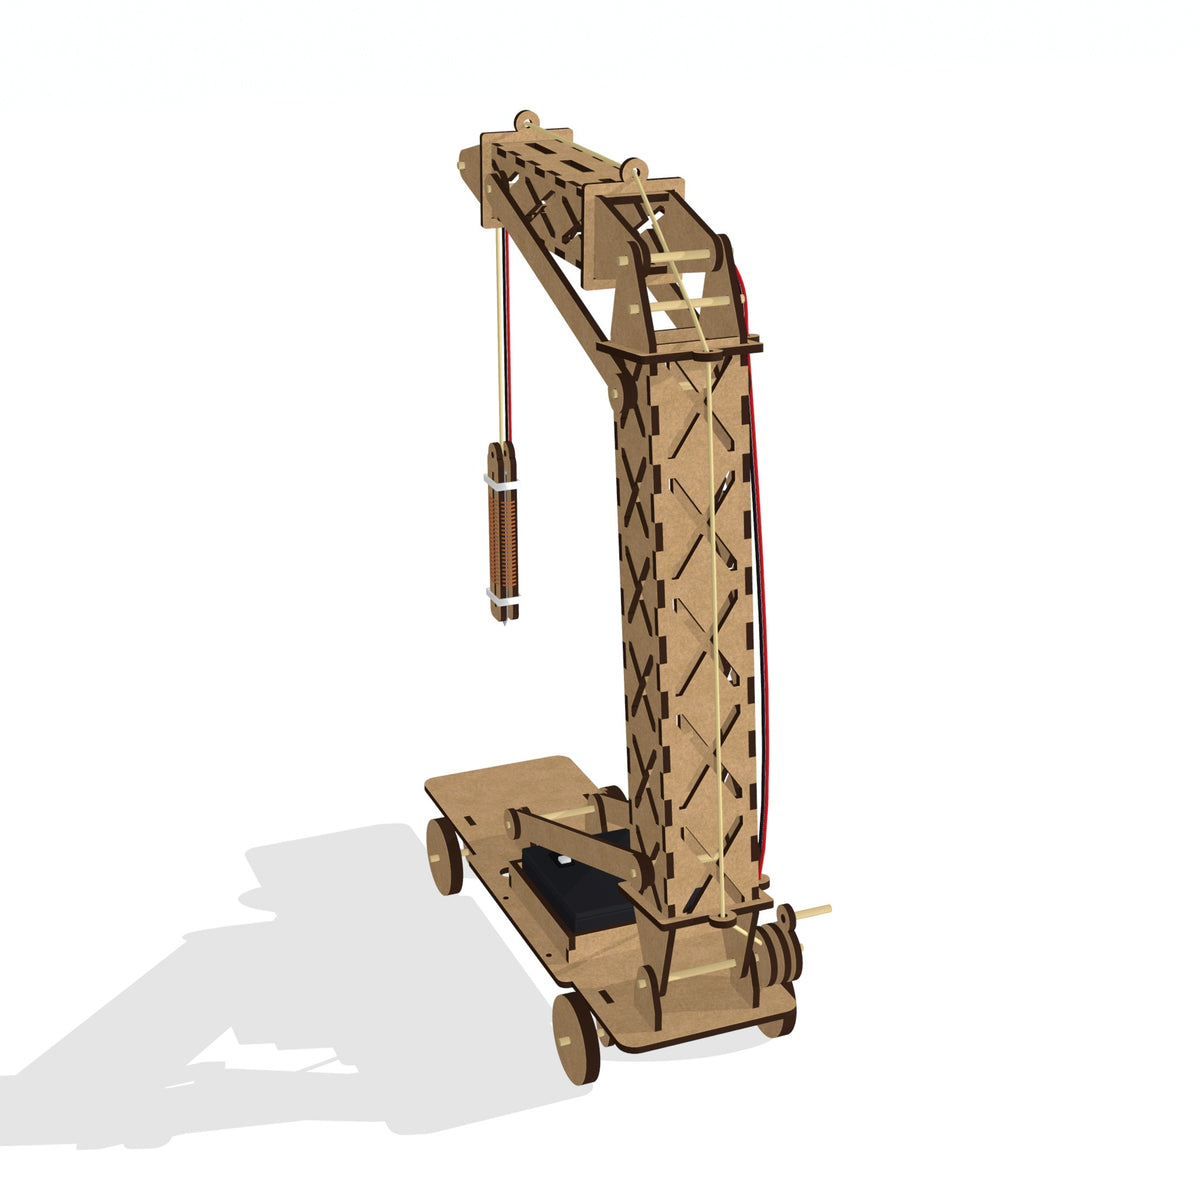
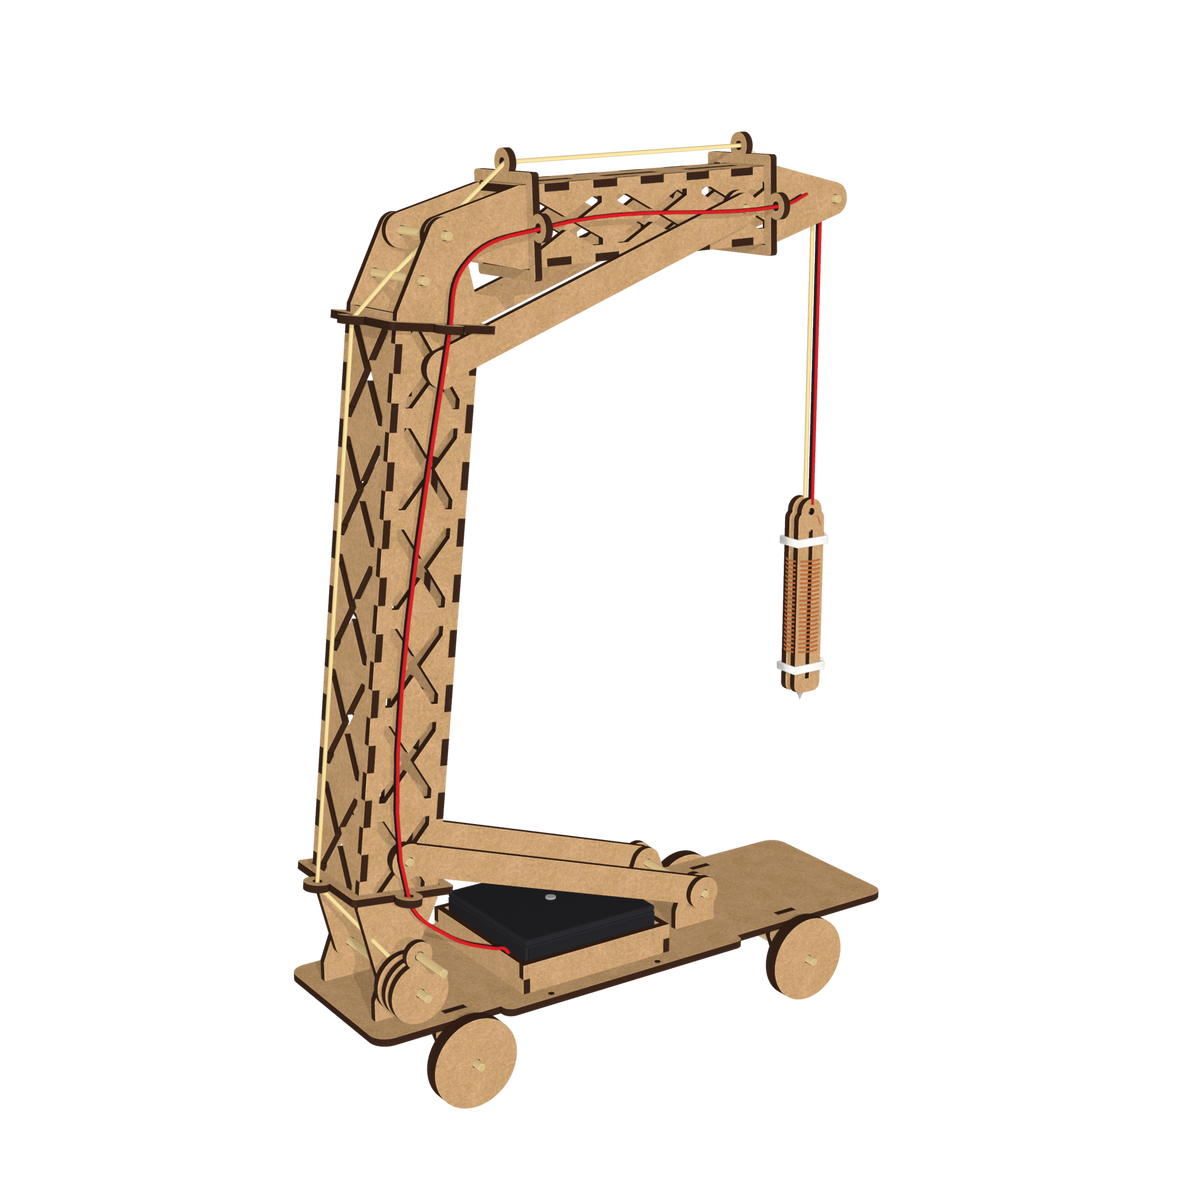
A laser-cut wooden kit for the Grade 7 electromagnetic crane school project: 80 pieces, a real working electromagnet, and four AA batteries in the box. Flip the switch and the magnet on the end of the winch line picks up paper clips.
What's in the box
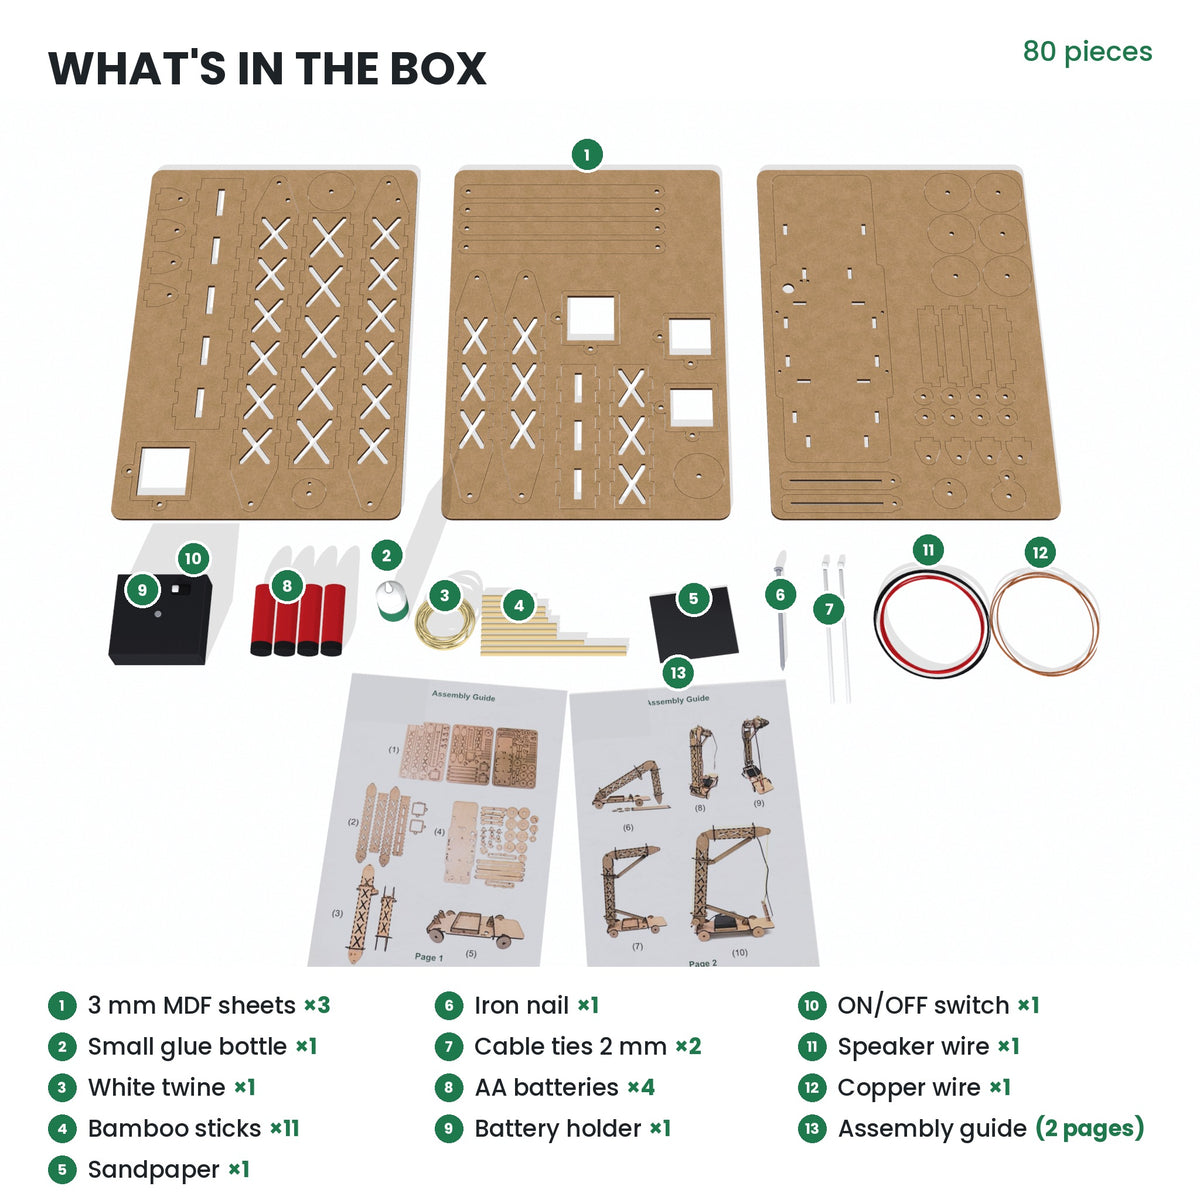
Eighty pieces, counted and packed flat:
- 3 mm MDF sheets × 3, with every part labelled
- Bamboo sticks × 11
- White twine × 1 · small glue bottle × 1 · sandpaper × 1
- Iron nail × 1 · copper wire × 1 · speaker wire × 1 · cable ties 2 mm × 2
- AA batteries × 4 · battery holder × 1 · ON/OFF switch × 1
- Assembly guide, 2 pages
Paper clips for the magnet to lift are not included — any office paper clip works.
The electromagnet really works
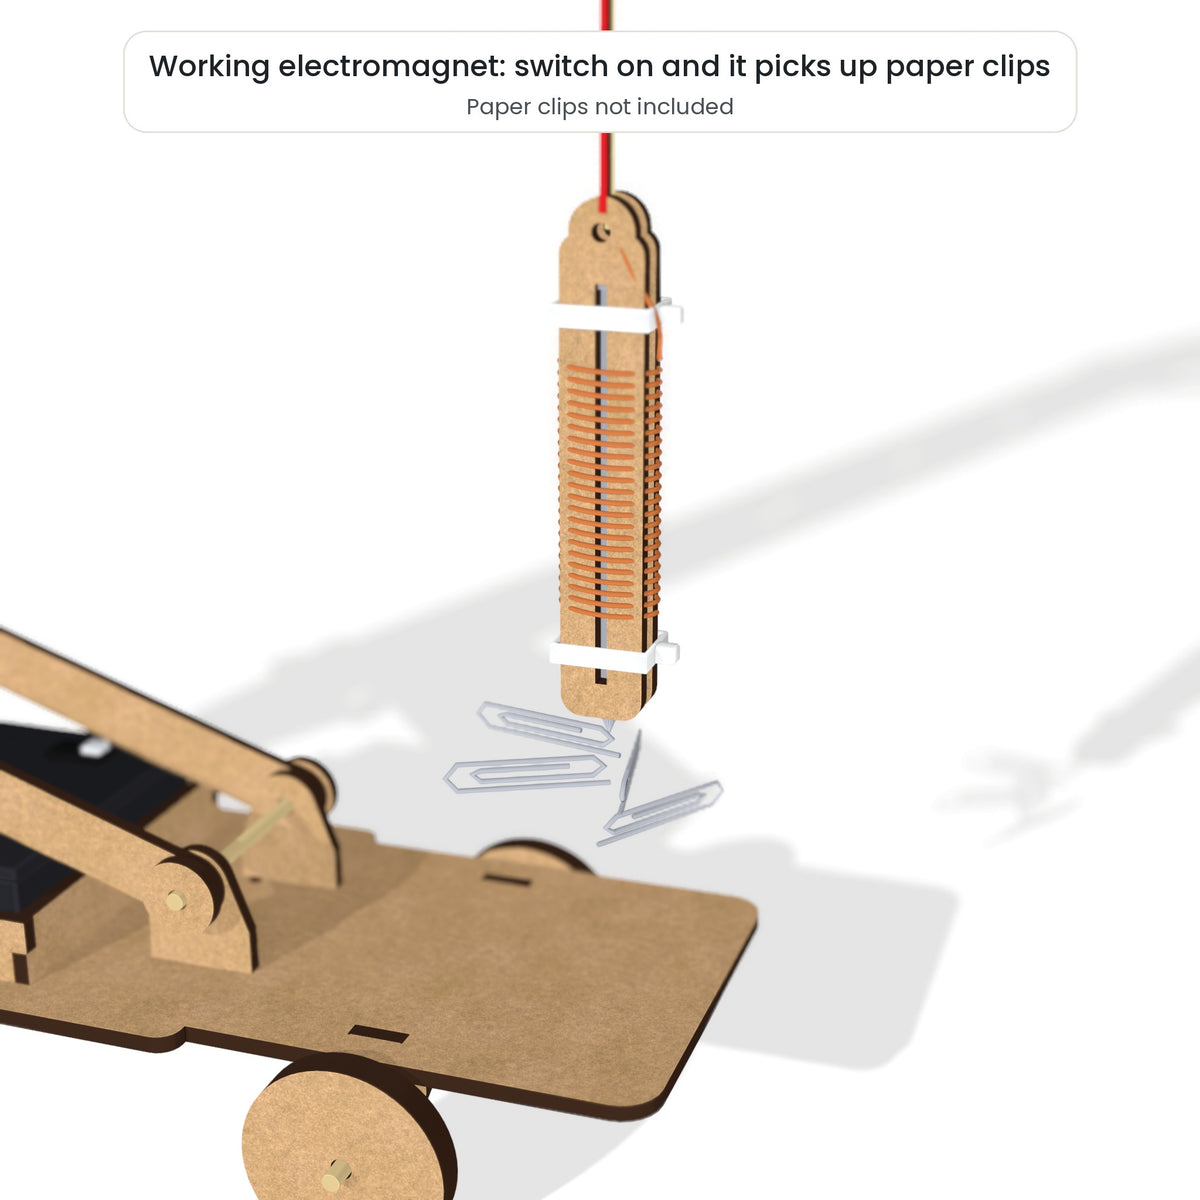
Copper wire wound around an iron nail, wired to the battery holder through the ON/OFF switch. Switch on and the nail becomes a magnet that lifts paper clips off the table; switch off and it drops them. That on-and-off is the whole point of the Grade 7 project, and it is the part a learner can explain in their own words afterwards.
How to build the electromagnetic crane, step by step
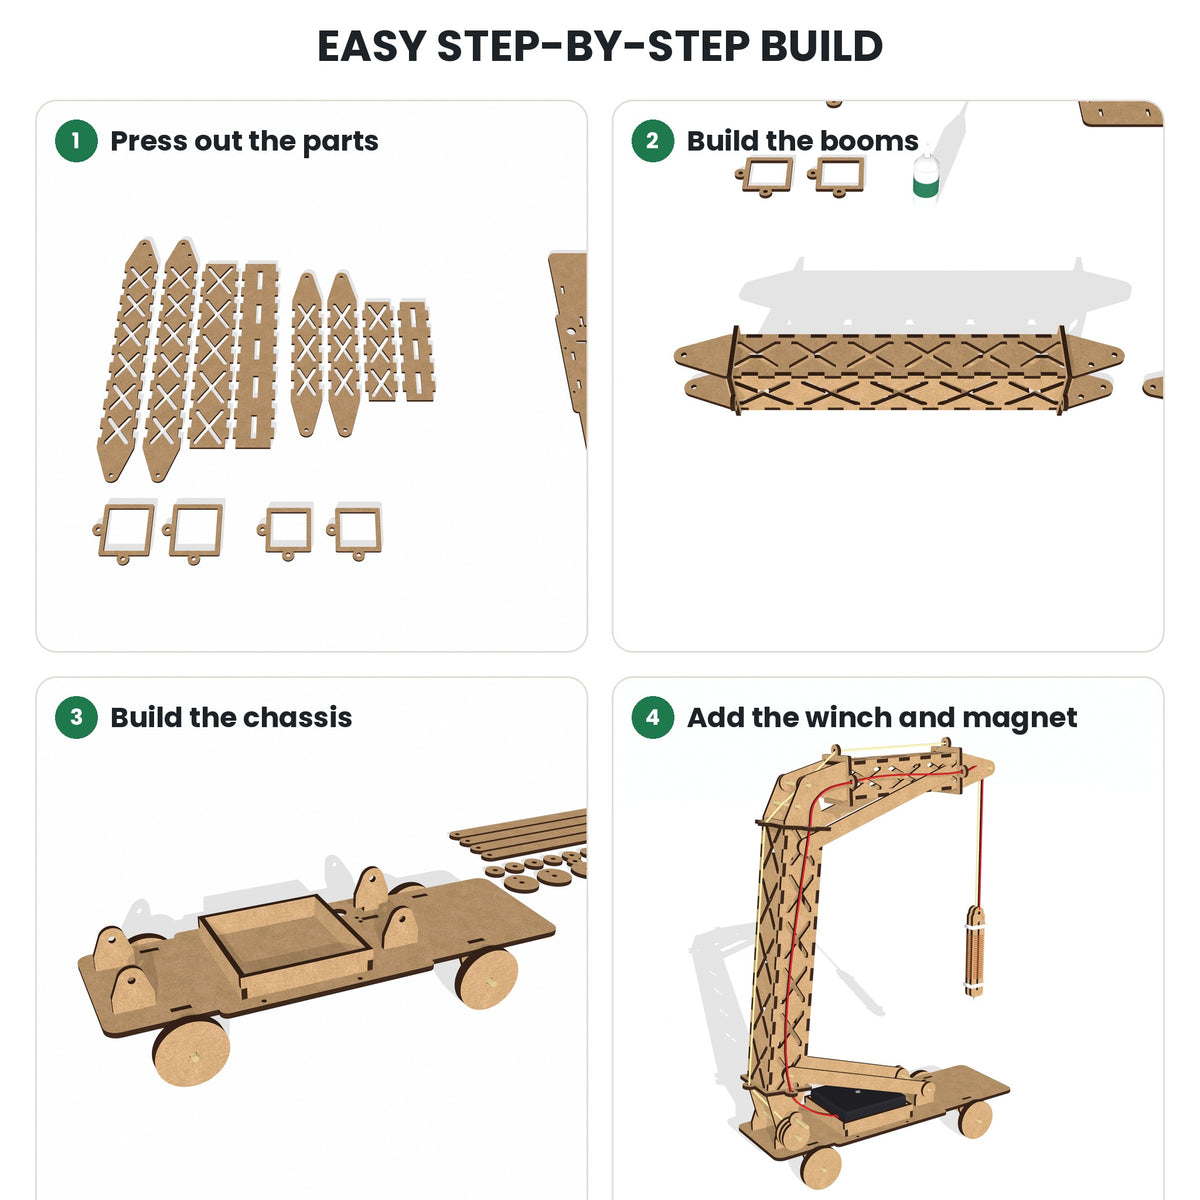
Ten steps, in the order the parts are labelled:
- Press out the parts. Push every piece out of the 3 MDF sheets, sort them into groups and lightly sand any rough edges.
- Find the boom parts. The tall lower boom and the short top boom, called the jib.
- Build the two booms. A thin line of glue along the joints, then a square collar slid onto each end.
- Find the chassis parts. Base plate, tray walls, brackets and wheel discs.
- Build the chassis. Four axle brackets into their slots, two discs glued together for each wheel, and tray walls A and B slotted in to hold the battery box.
- Mount the booms. The lower boom sits between the rear brackets on a bamboo pivot; the jib pins on top with another.
- Fit the support links. Two long links hold the boom upright, two more brace the jib, with spacer washers in between.
- Winch and twine. A short bamboo stick makes the crank handle; the twine ties to the drum and runs up through the collar rings, over the jib and down from the tip.
- Make the electromagnet. The iron nail lies in the groove between the two holder plates, and the copper wire winds tightly around it — the more turns, the stronger the magnet.
- Connect the battery. The holder goes into the battery tray and the speaker wire runs up the boom to the magnet.
The two-page assembly guide goes with the kit, and the parts are labelled in the order they are used. The full walk-through, with the science a Grade 7 report needs, is here: how to build an electromagnetic crane, step by step.
Testing it
Put some paper clips under the magnet and switch ON. Turn the crank to lower the magnet, then wind the crank back to lift them. Switch OFF and the magnet lets go, and the clips drop. Leave it off between tries — the coil draws current the whole time it is switched on.
Size when built
250 mm long, 90 mm wide and 345 mm tall — about the height of a two-litre bottle, so it stands up on a desk at the back of a classroom and can still be carried to school in one hand.
Materials
Every part is cut by laser from 3 mm MDF, so tabs and slots meet within a fraction of a millimetre. A sheet of sandpaper is in the box for the few edges a learner may want to soften.
Test-fitted before it's packed
We build every kit once by hand before it is packed. If a part doesn't fit, that's on us, not on your learner.
Built for the CAPS Technology syllabus
Drawn in our own workshop and checked against the CAPS Technology syllabus for Grade 7. See all Grade 7 Technology projects.
Delivery
Packed in one flat box in Gauteng and shipped to homes, schools and shops across South Africa and Namibia. WhatsApp us with your town for delivery options, or ask about class sets and wholesale.
- 01 Drawn
- 02 Cut
- 03 Test-fitted
- 04 Filmed
- 05 Packed
Other kitsProjects & puzzles
Build one this term.
Get a kit