Grade 9 · CAPS TechnologyLaser-cut in Gauteng
Bridge School Project Kit – Grade 9
R 279.00
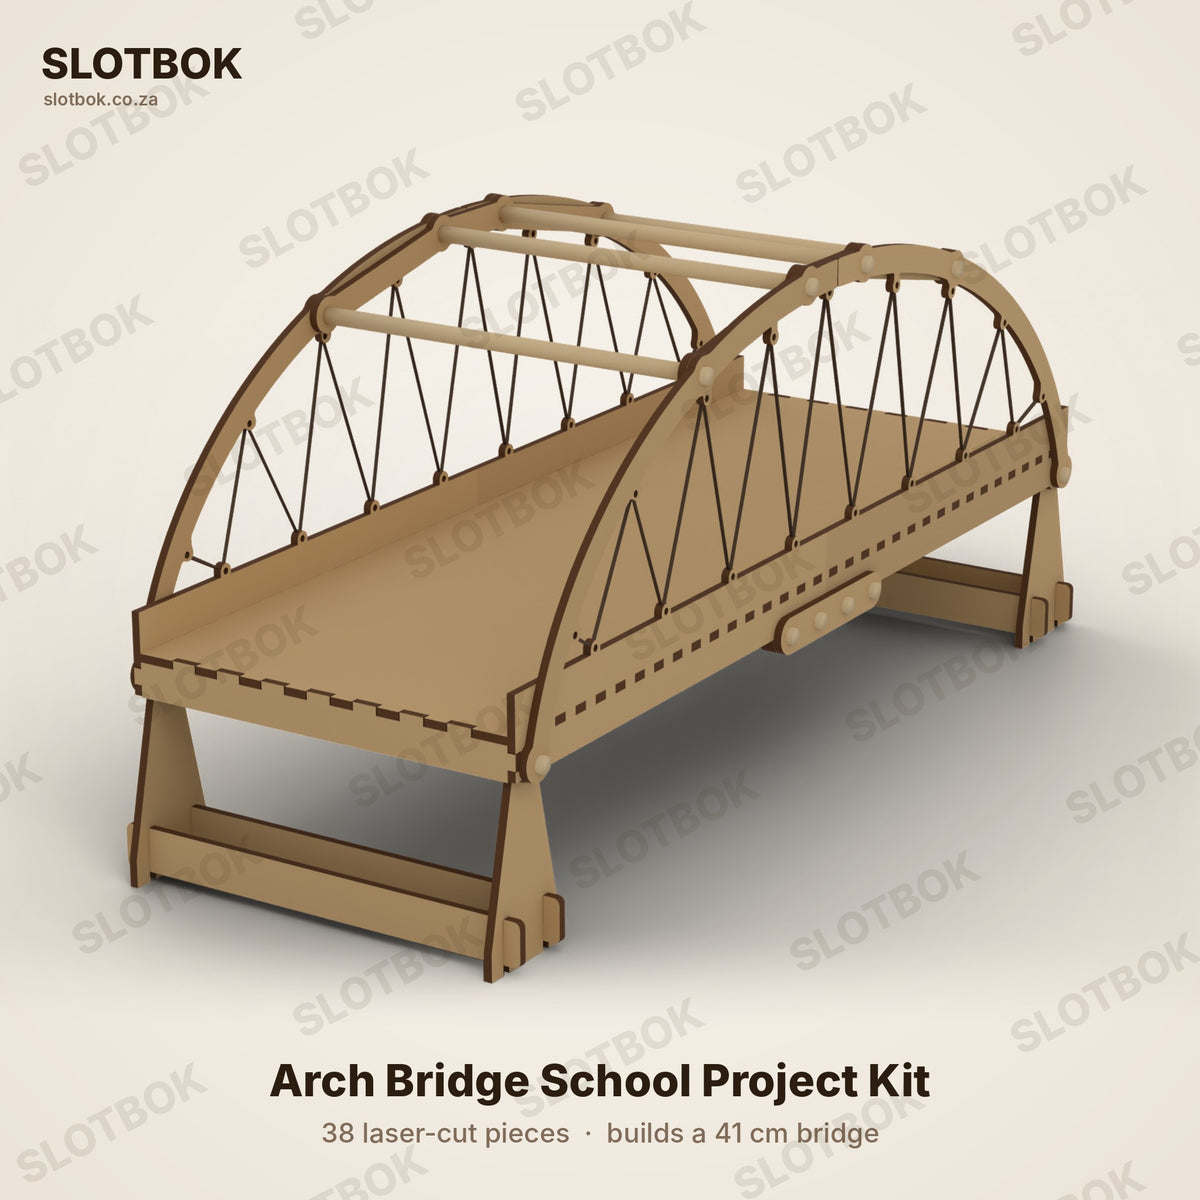
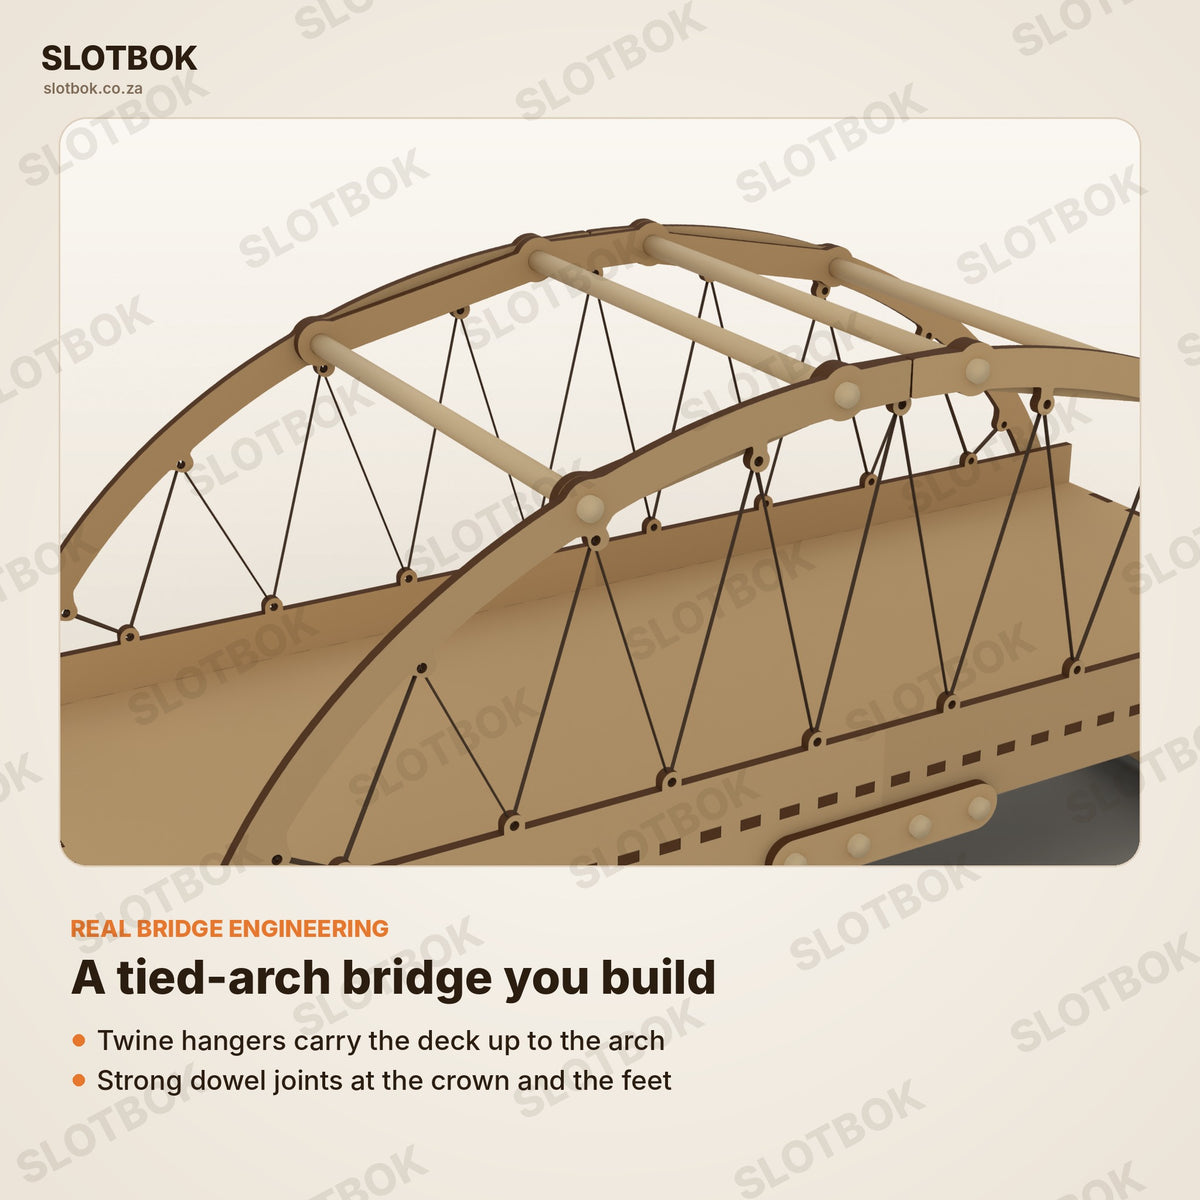
A laser-cut wooden kit for the Grade 9 bridge school project: a tied-arch bridge 41 cm long, with two arches, a road deck and twine hangers that carry the deck up to the arches. It shows exactly what a Grade 9 structures report has to explain: the arches are pushed, in compression, while the hangers and the deck are pulled, in tension.
What's in the box
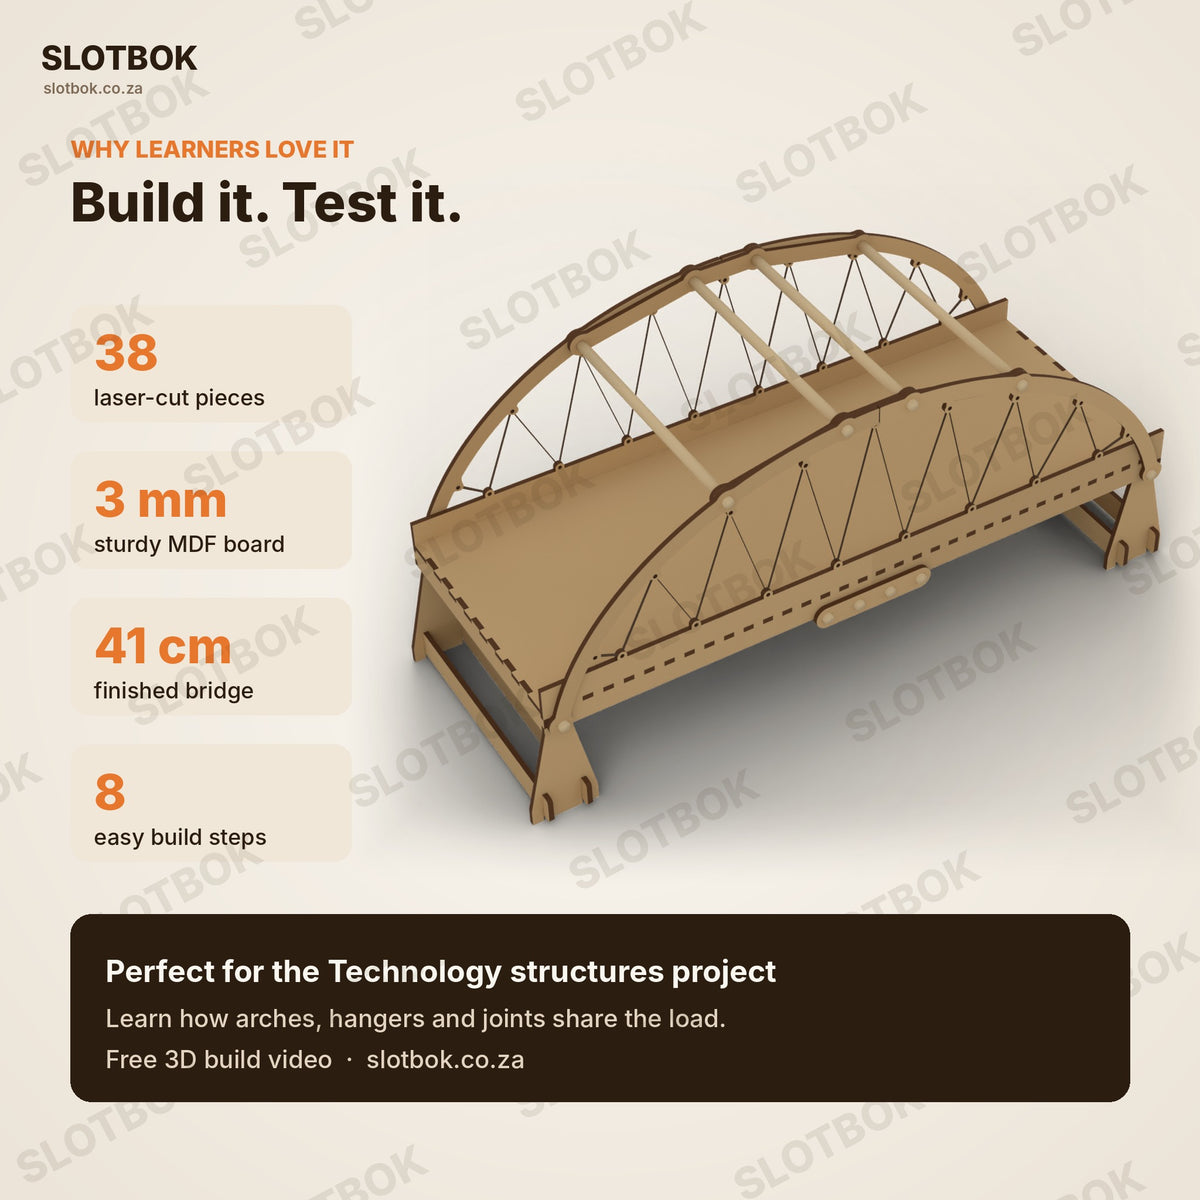
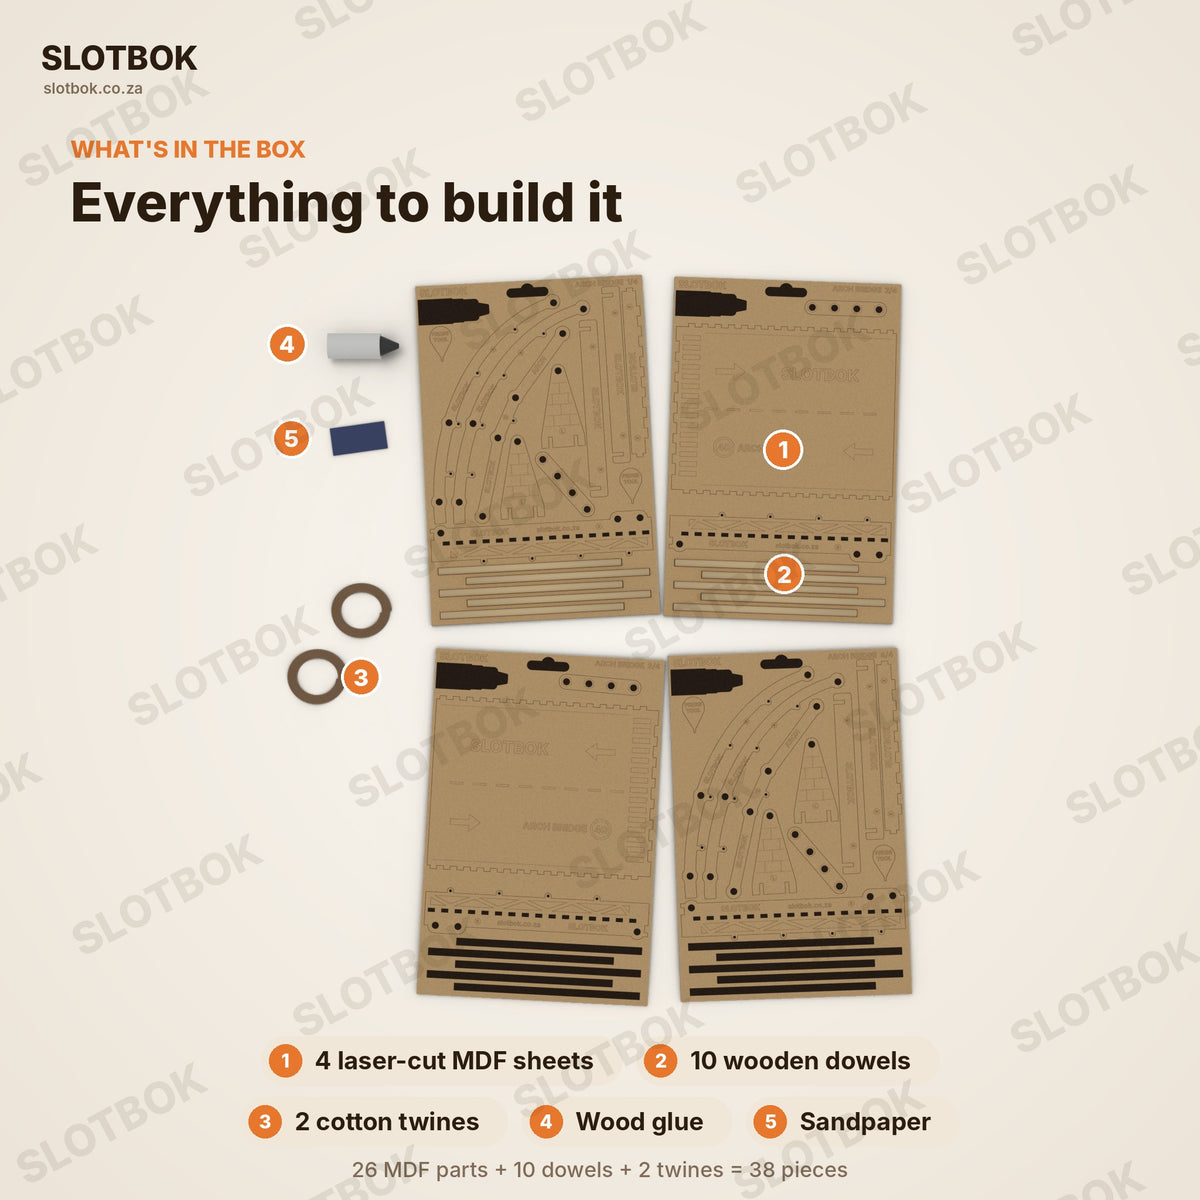
38 pieces, packed flat:
- 3 mm MDF sheets × 4 (200 × 300 mm each), with 26 laser-cut parts, every part labelled
- Wooden dowels × 10, for the deck joint, the arch feet and the top bracing
- Cotton twine × 2 (1.35 m each), for the hangers
- Wood glue × 1 · sandpaper × 1
The 26 parts are two deck plates, two end walls, four side rails, four splice plates, four legs, four beams, four arch halves and two crowns.
How the bridge carries a load
Put a weight on the deck and the twine hangers carry it up to the two arches. An arch turns that load into a push along its curve, so the arches work in compression, and their feet push outwards at the ends of the bridge. In a tied-arch bridge the deck holds the two feet of each arch together, like the string of a bow, so the side rails work in tension and the stands only have to carry the weight straight down. The four dowels across the top brace the two arches together, so they cannot lean or buckle sideways.
How to make the bridge, step by step
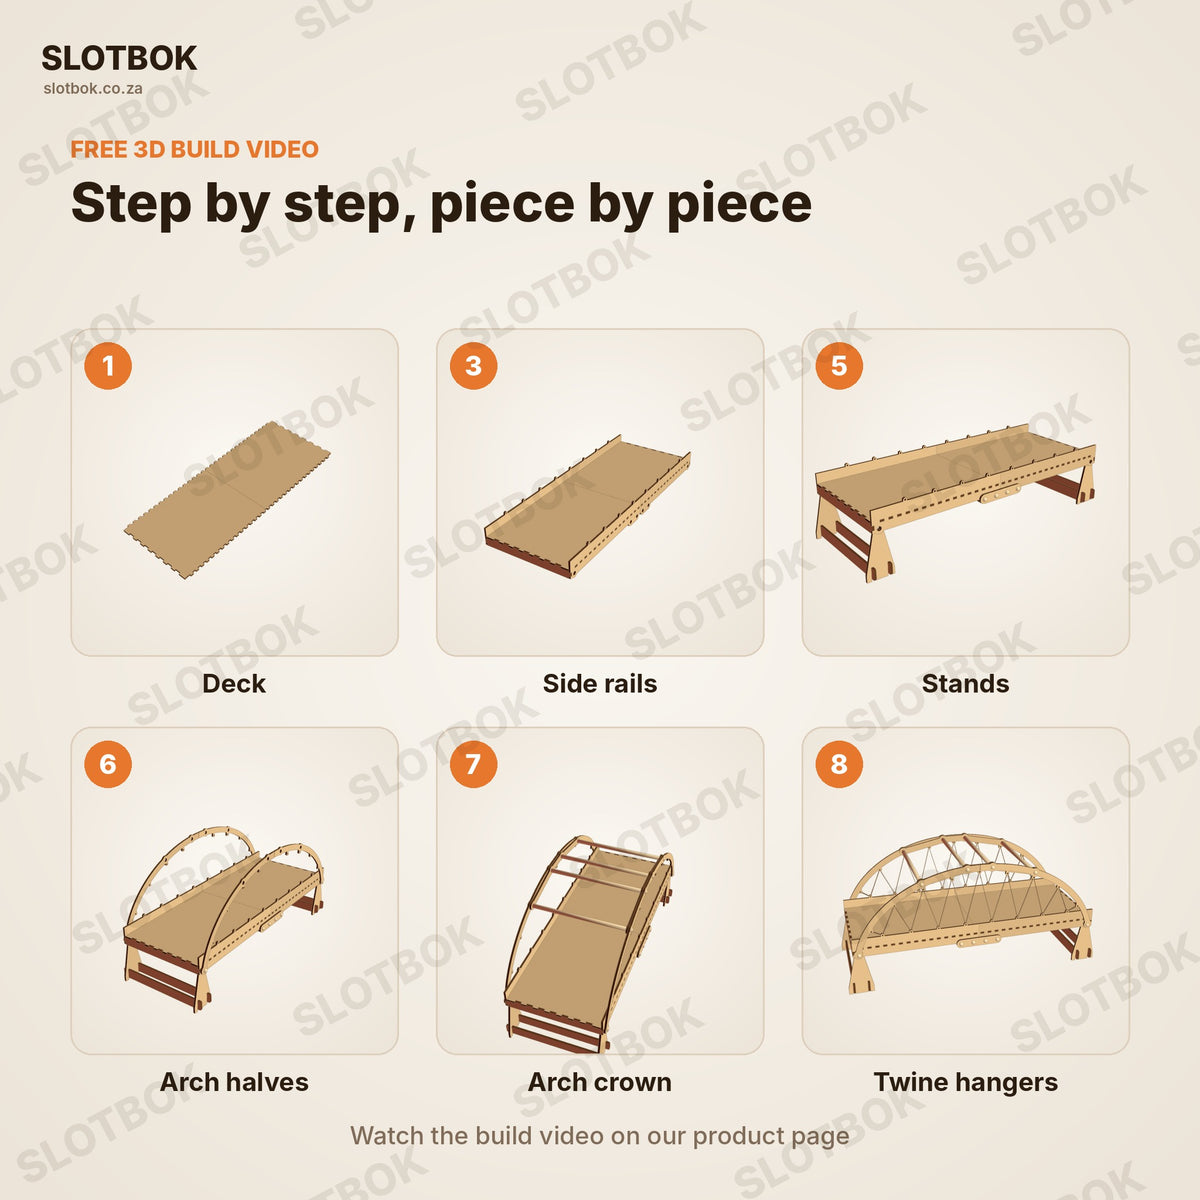
Every kit comes with a short 3D animation of the whole build, so a learner can watch it once and get it right the first time. It takes the build in eight steps:
- Deck plates. Lay the two deck plates end to end, road side up, with the straight edges meeting in the middle.
- End walls. Push an end wall onto each end of the deck so its teeth sit in the deck slots, with a drop of glue.
- Side rails. Fit the four side rails onto the deck fingers, tabs on top and the single hole at the bridge ends.
- Middle joint. Put a splice plate outside and inside each rail joint, then push four dowels right across the bridge.
- Stands. Slot two beams into two legs to make each stand, and set the stands under the bridge ends.
- Arch halves. Hold an arch half outside each rail end and push a dowel through arch, rail and leg, across the bridge, at both ends.
- Arch crown. Close each arch with a crown on the inside and push the four top dowels through both arches.
- Twine hangers. Tie the twine at the first arch hole, zigzag between the rail tabs and the arch holes, and tie off. Repeat on the other side.
Let the glue dry for about an hour before you load it. The full walk-through, with the structures theory for the write-up, is here: how to build a bridge for the Grade 9 project.
The whole build is also on the bridge assembly video page.
Testing it
Once the glue is dry, load the middle of the deck a little at a time with something you can count, such as coins or small books. Watch where the bridge moves first, and stop as soon as anything starts to bend. Write down the load each time: that is your test result.
Size when built
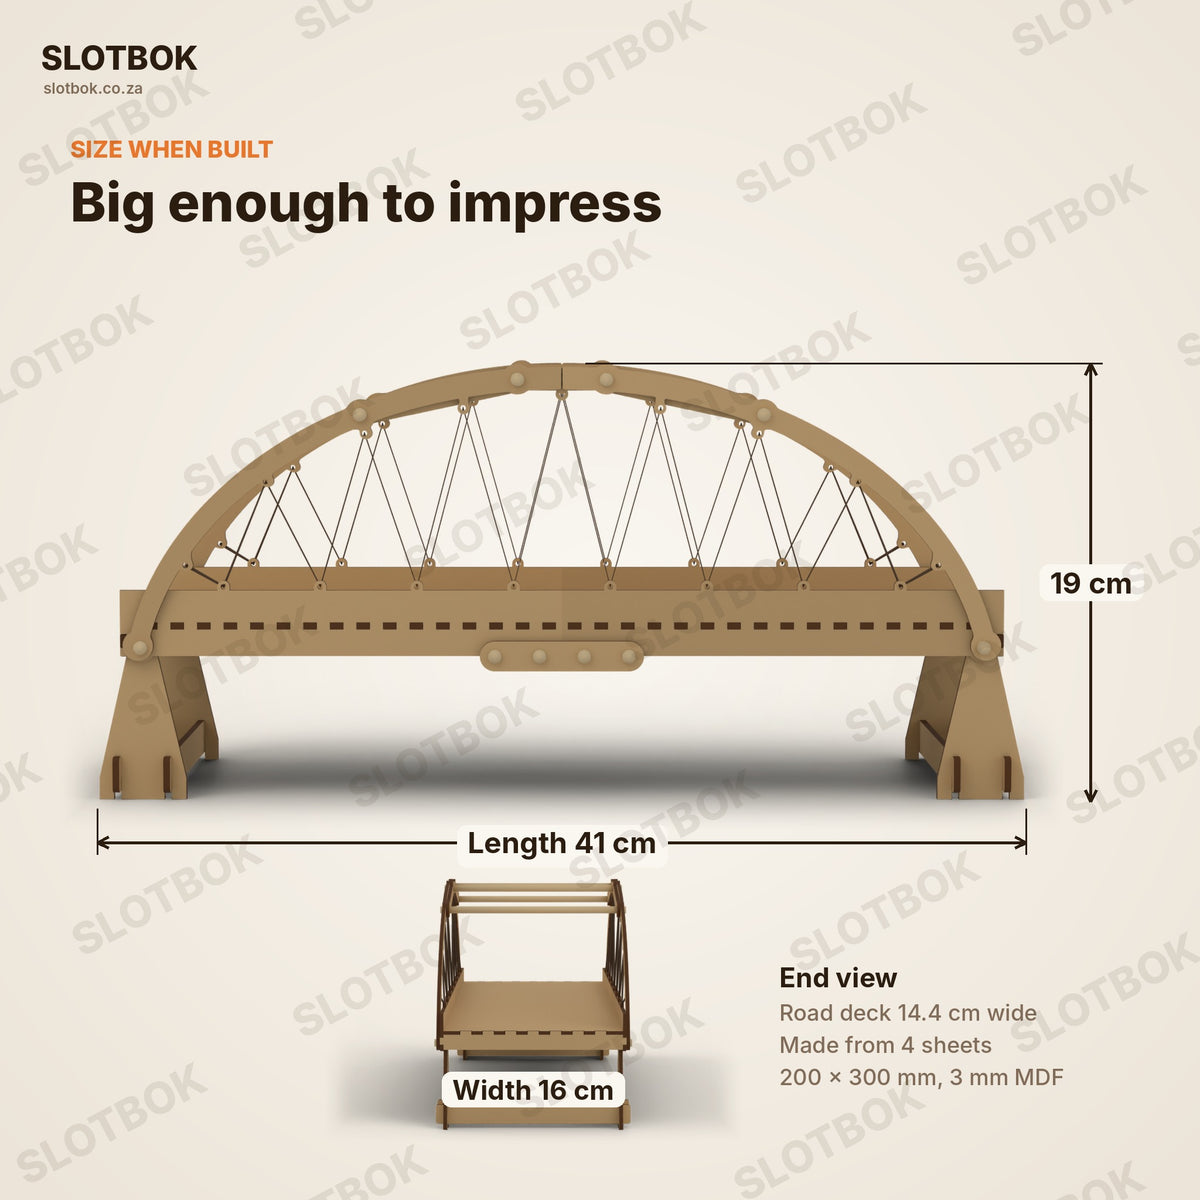
41 cm long, 19 cm high and 16 cm wide, with a road deck 14.4 cm wide.
Materials
Every wooden part is cut by laser from 3 mm MDF, so tabs and slots meet within a fraction of a millimetre. Each part is labelled. The wood glue is for the end walls, and the sandpaper is for easing any tab that feels tight.
Test-fitted before it's packed
We build every kit once by hand before it is packed. If a part doesn't fit, that's on us, not on your learner.
Built for the CAPS Technology syllabus
Drawn in our own workshop and checked against the CAPS Technology syllabus for Grade 9, where bridges come under Structures. See all Grade 9 Technology projects.
Common questions
Where can I buy a bridge school project kit? Right here. Order online and we deliver to homes, schools and shops across South Africa from our workshop in Gauteng.
What type of bridge is it? A tied-arch bridge, also called a bowstring arch: the road deck hangs from two arches and ties their ends together.
Will it help with the Grade 9 design brief of a bridge? The design brief and the specifications are the learner's own, but the build guide shows how to write both, with this kit's measurements as the example.
Is it the whole Grade 9 project? It is the model. The design brief, the drawings and the write-up are still the learner's own work, and the build guide explains the forces in plain words to help with that.
Delivery
Packed in one flat box in Gauteng and shipped to homes, schools and shops across South Africa and Namibia. Standard delivery anywhere in South Africa is R65. Delivering to Namibia? WhatsApp us with your town for the cost. Buying for a class or a shop? Ask about class sets and wholesale.
- 01 Drawn
- 02 Cut
- 03 Test-fitted
- 04 Filmed
- 05 Packed
Other kitsProjects & puzzles
Build one this term.
Get a kit